
Authorize Integration
Authorizing Webex Engage's Nodes
Webex Engage’s Integration services are packaged as ‘Nodes’ within Webex Connect’s Flow Builder. You will need to ‘Authorise’ this integration before you attempt to use these nodes in the Flow builder to design your contact center journey. Webex Engage leverages the OAuth 2.0 - Client Credentials Grant type to authorise the nodes exposed. Follow the steps below to do this:
Steps:
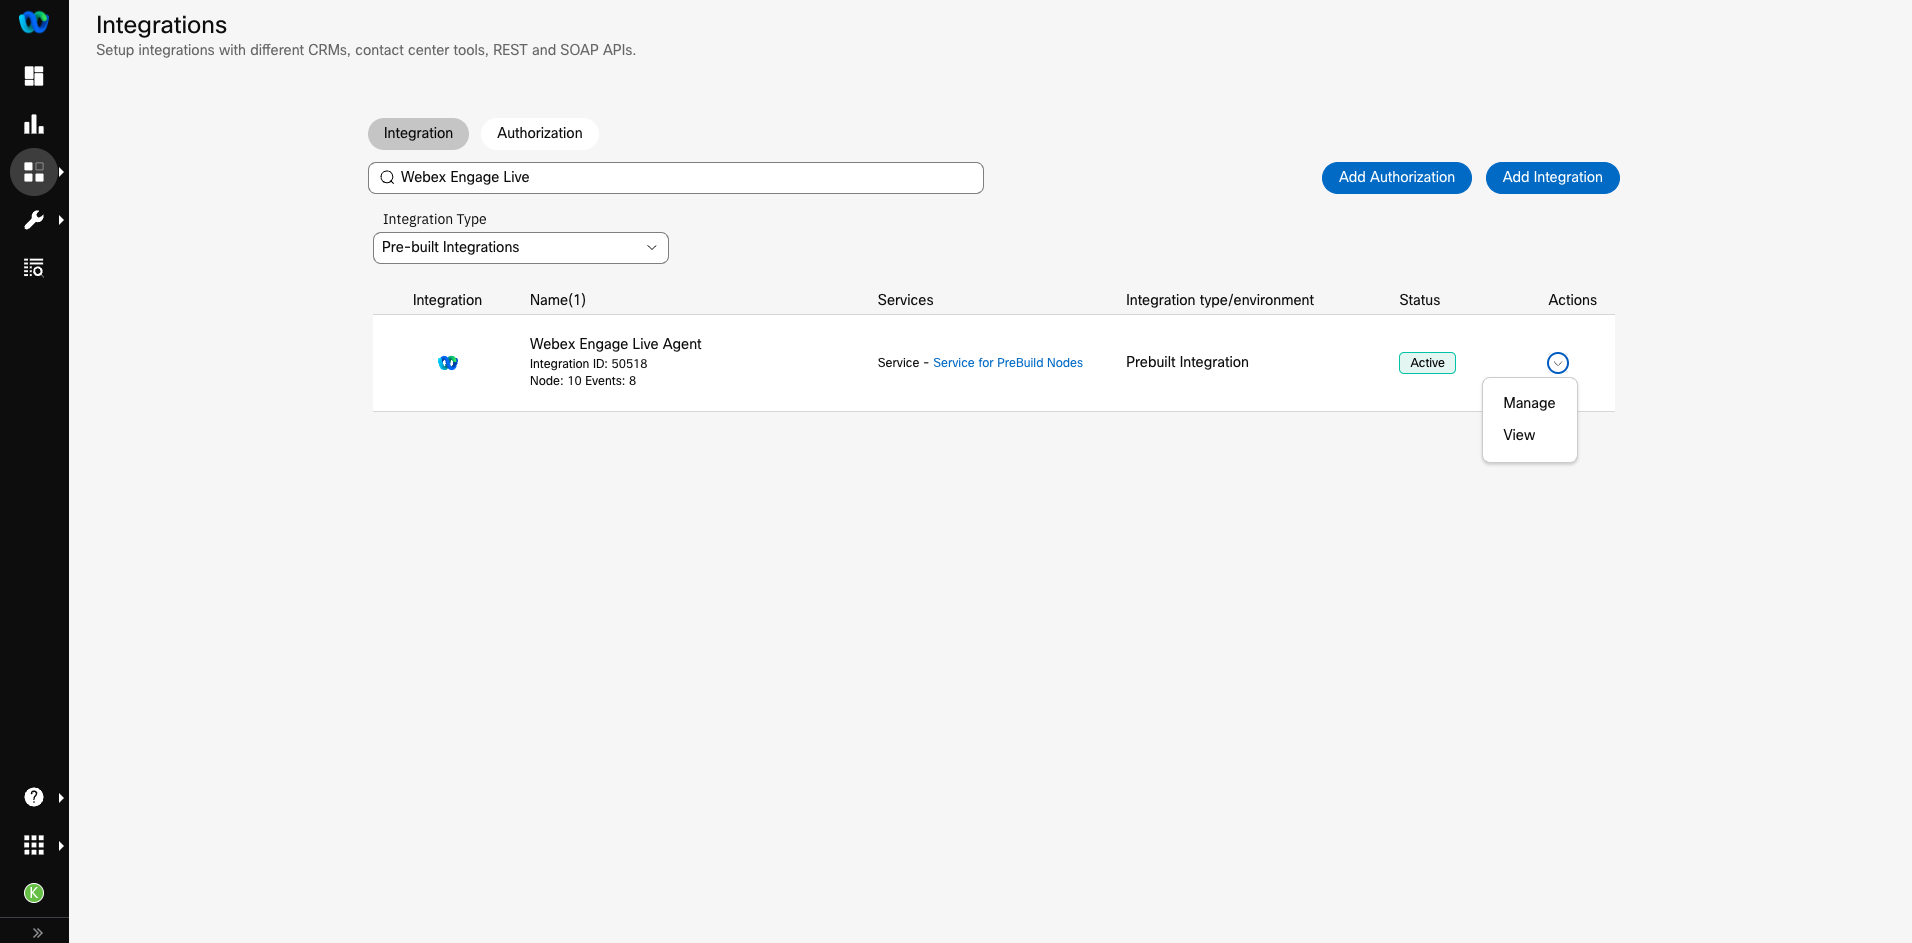
- Go to Assets → Integrations.
- Select Pre-built Integrations in the Integration Type dropdown, to display the list of all Pre-built Integrations. Look for Webex Engage Live Agent. If you’ve not yet authorised, this integration status is shown as ‘Auth Pending’
- Click Actions → Manage
Assets > Integrations > Managing Integration
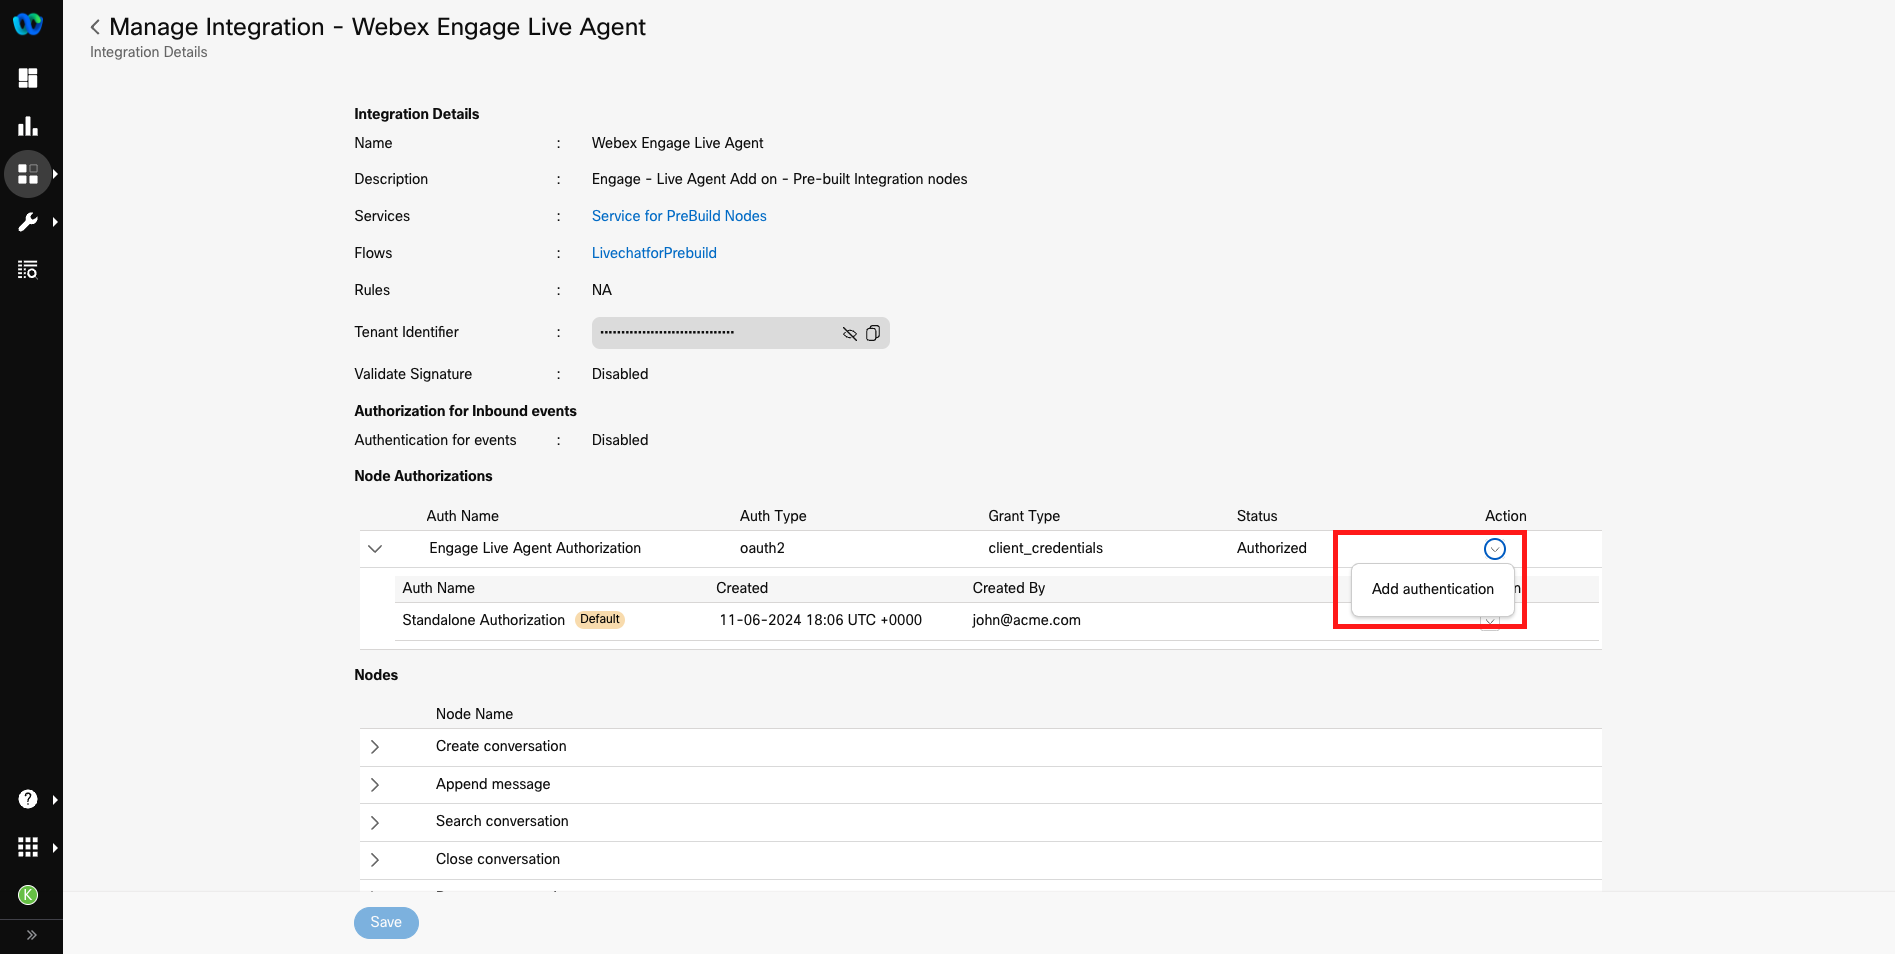
- On the Manage Integrations page, scroll down to the Node Authorizations section. This section lists all the Authorizations mapped to this integration.
Webex Engage Live Agent Integration > Adding Authentication
- Click Action → Add authentication and Enter an Authentication Name
- Click on the Authenticate button
- You should now see a Success message stating > 'Authentication added successfully'
Managing Node Authorisations Centrally
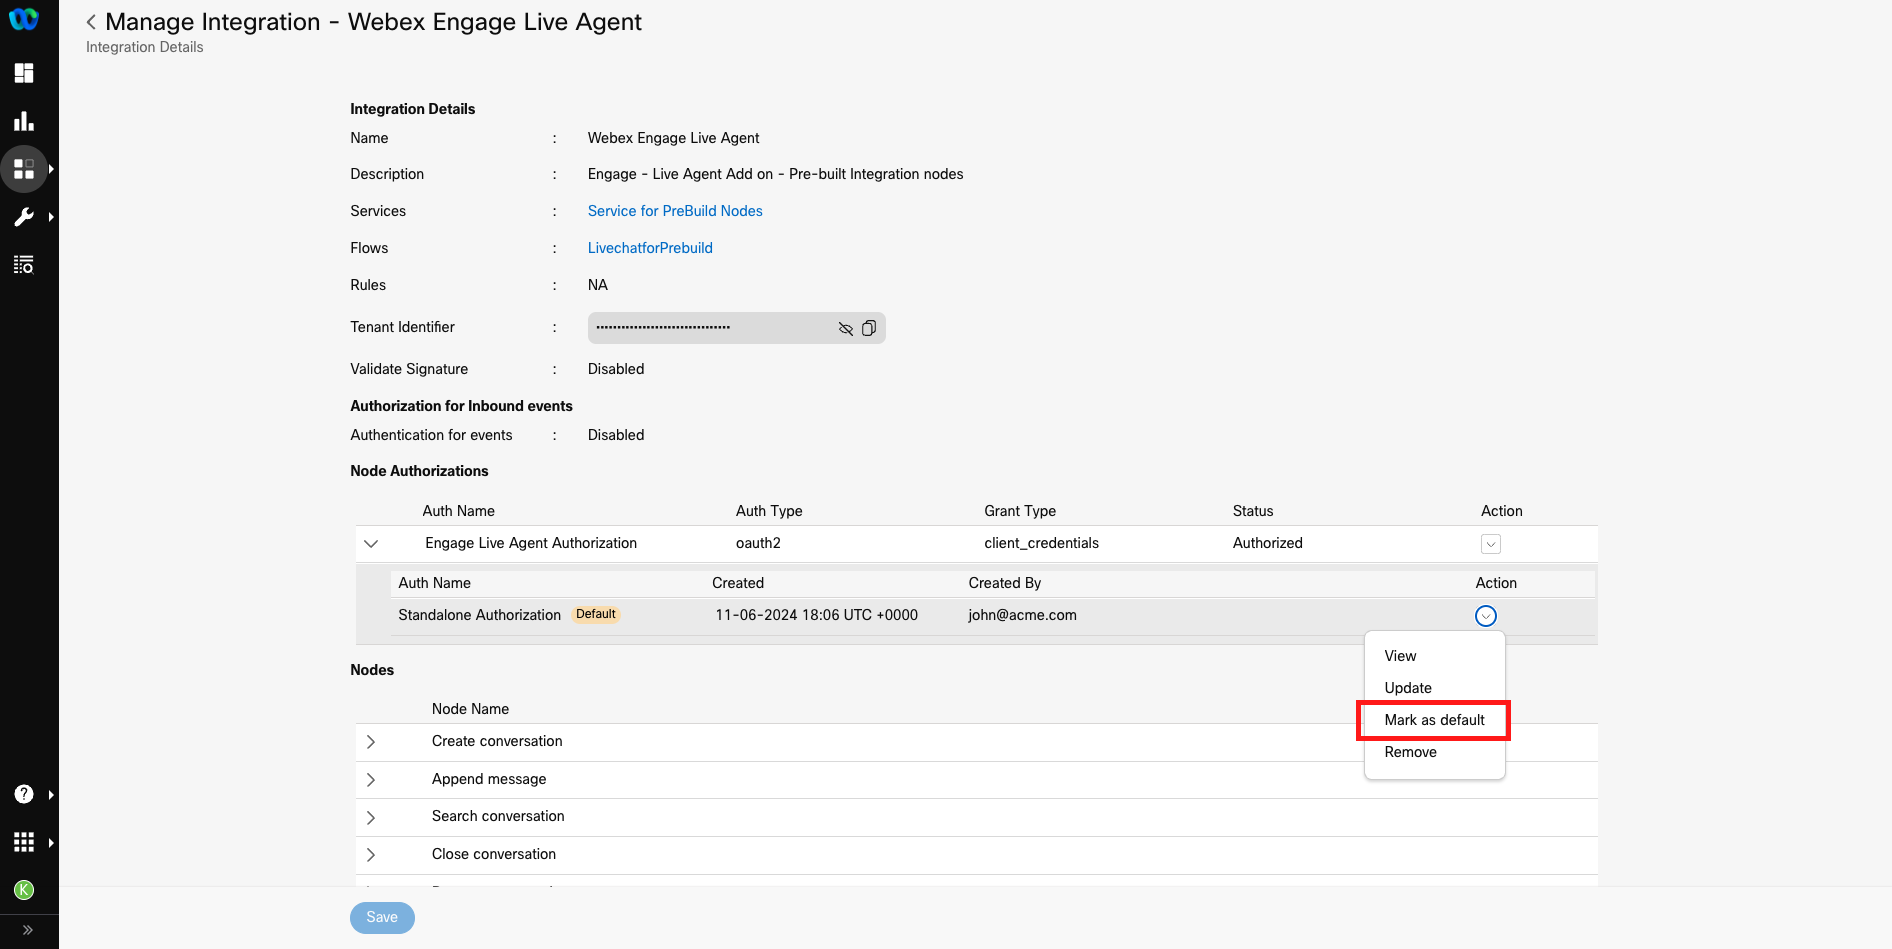
- In case you have added multiple authentications, you can mark one of them as the 'Default' by choosing the option 'Mark as default' from the Actions dropdown. This will ensure that these Auth credentials are used by default for all instances of Webex Engage Nodes within the tenant unless explicitly modified.
- Once marked as default, you would now see a 'Default' tag shown against the Node Authorisation added.
Webex Engage Live Agent Integration > Marking Default Authorisation